
How to Make Homemade Gluten-Free Protein Bars at Home

Last Updated: November 7, 2026
Quick Summary
Make gluten-free protein bars by mixing 1 cup certified gluten-free oats, 1/2 cup protein powder, and a pinch of salt, then binding with 1/2 cup nut butter and 1/3 cup honey or maple syrup. Press the mixture into an 8-inch pan lined with parchment, chill at least 30 minutes, and cut into 12 bars.
Use oats labeled certified gluten-free, since regular oats can be cross-contaminated with wheat.
Blend the dry ingredients first so the protein powder spreads evenly and doesn't clump.
If the dough crumbles, add nut butter one tablespoon at a time or a teaspoon of water.
Store bars in an airtight container in the refrigerator for up to one week, or freeze for three months.
Want a bar without the baking?
Pranam Bars makes plant-based, gluten-free bars in small batches.
Table of Contents
What You'll Need: Gluten-Free Protein Bar Ingredients
Homemade gluten-free protein bars are one of the easiest snacks you can make at home. Many people prefer to bake or mix their own. The good news is that you only need a few basic ingredients and a bowl.
Gluten-free protein bars are simply bars made without wheat, barley, or rye. Most of the work is in choosing the right base ingredients and binding them together so the bars hold their shape.
A protein source, such as protein powder or ground nuts
A binder, such as nut butter or honey
A dry base, such as gluten-free oats or almond flour
A sweetener, such as maple syrup or dates
Choosing Certified Gluten-Free Oats and Flours
Regular oats are often grown or processed near wheat, which can cause cross-contamination. If you or someone you cook for has celiac disease, look for oats labeled "certified gluten-free." Almond flour and coconut flour are naturally gluten-free, but check the label to confirm there is no shared-equipment warning.
Protein Powder, Nut Butters, and Sweeteners
Choose a protein powder labeled gluten-free and check the ingredient list for hidden gluten. To compare ingredients against store-bought options, see the best gluten free plant based bars buying guide. Creamy nut butters like almond or peanut butter hold bars together well. For sweetness, honey, maple syrup, or mashed banana all work.
Gluten-Free Dairy-Free Protein Bar Recipe, Step by Step
This recipe makes about 12 bars. It takes about 15 minutes of hands-on time, plus chilling.

Step 1: Combine the Dry Ingredients
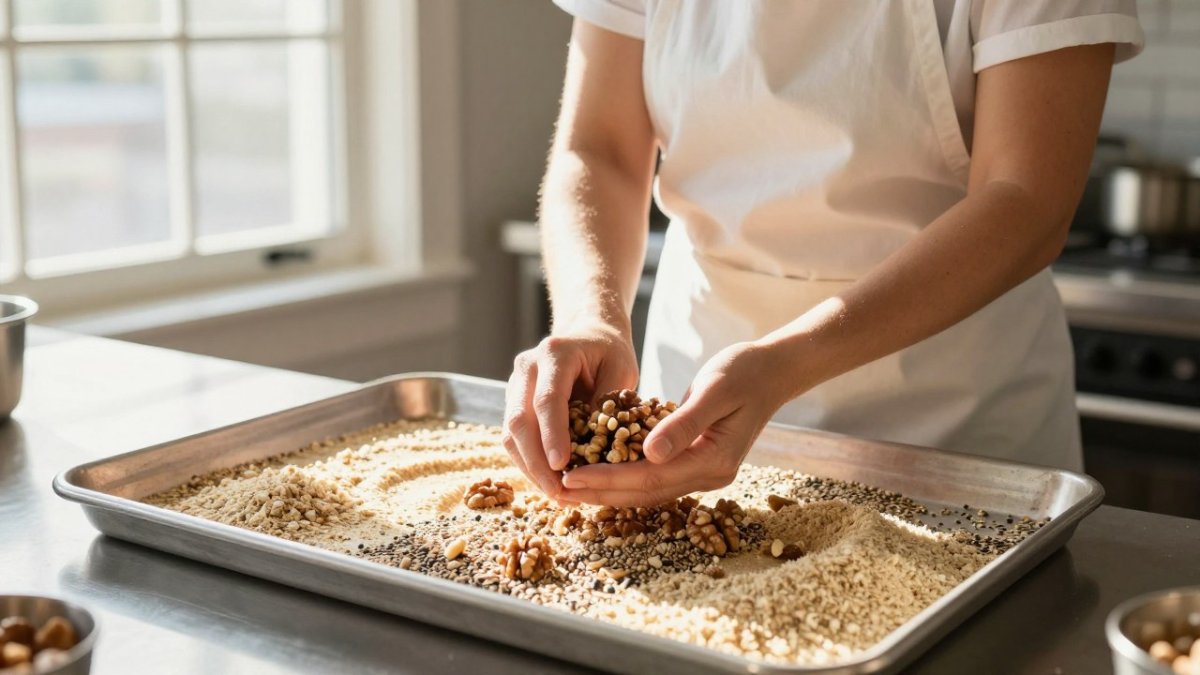
In a large bowl, mix 1 cup of certified gluten-free oats, 1/2 cup of protein powder, and a pinch of salt. Stir well so the protein powder is spread evenly. Dry ingredients blended first prevent clumps later.
Step 2: Bind with Nut Butter and Sweetener
Add 1/2 cup of nut butter and 1/3 cup of honey or maple syrup. Mix until the dough forms a thick, sticky ball. If it crumbles, add a spoonful of water or extra nut butter.
Step 3: Press, Chill, and Slice
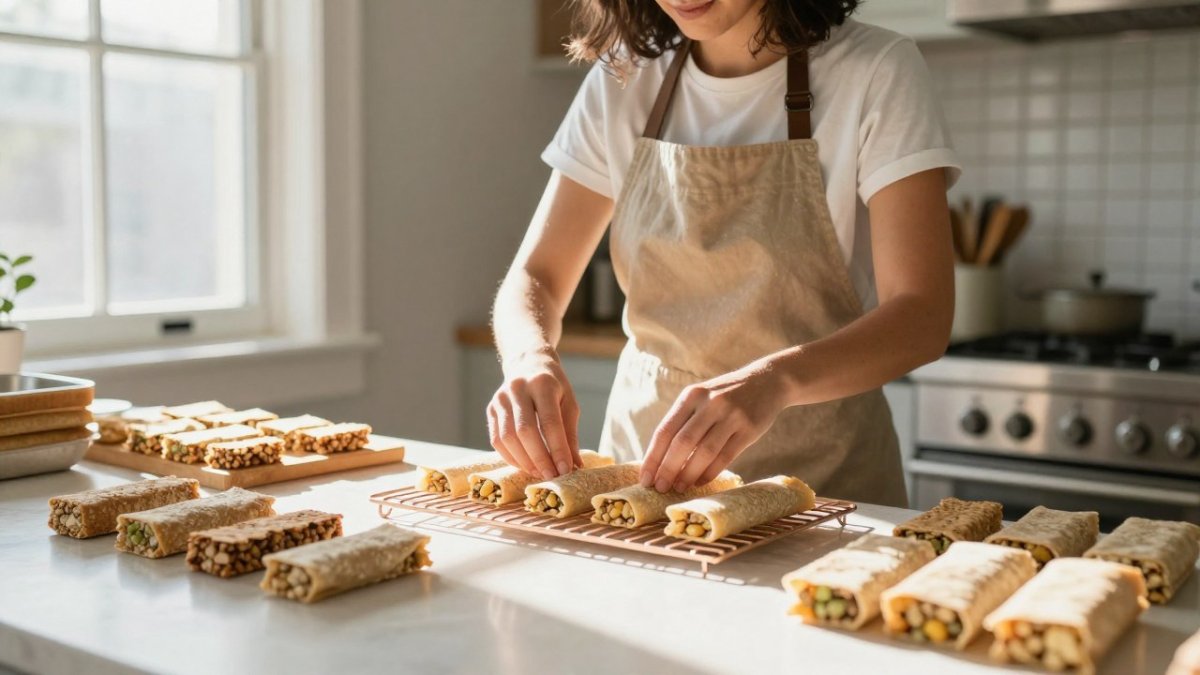
Line an 8-inch square pan with parchment paper. Press the mixture firmly into the pan with your hands or the bottom of a glass. Chill for at least 30 minutes, then cut into 12 bars. Chilling helps the bars set so they don't fall apart.
Here is a quick summary of the three steps for the basic recipe, with the time or setting for each.
Step | What to do | Time or setting |
Combine the dry ingredients | Mix 1 cup certified gluten-free oats, 1/2 cup protein powder, and a pinch of salt | Stir until evenly spread |
Bind with nut butter and sweetener | Add 1/2 cup nut butter and 1/3 cup honey or maple syrup | Mix until a thick, sticky ball forms |
Press, chill, and slice | Press into an 8-inch pan lined with parchment, then cut into 12 bars | Chill at least 30 minutes |
Gluten-Free Protein Bar Recipe Without Oats
If you avoid oats, use almond flour or ground pumpkin seeds as the base. Replace the oats with 1 cup of almond flour and keep the same amount of nut butter and sweetener. For other swaps away from processed snacks, see healthier alternatives to processed snacks. Almond flour bars are a little softer, so chill them longer before slicing.
No-Bake Gluten-Free Protein Bars: Method and Texture Fixes
No-bake bars skip the oven and cut the active time to about 15 minutes. The trade-off is that no-bake bars depend entirely on the binder and the chill step for structure, so texture problems are common and usually fixable.
Why no-bake bars hold (or don't)
Three things create structure without heat: the sticky binder (nut butter, honey, dates), the absorbent dry base (oats, almond flour, protein powder), and cold setting in the refrigerator. When the ratio of absorbent dry ingredients to binder is too high, the bars crumble. When binder dominates, they stay sticky. Protein powder is the wild card because different powders absorb very different amounts of liquid.
Diagnosing and fixing texture
Crumbly, won't press together: The dry-to-binder ratio is off. Add nut butter one tablespoon at a time, or a teaspoon of water, and press again. If it still crumbles, a tablespoon of mashed banana or date paste adds stickiness without much flavor change.
Sticky and won't firm up: Too much liquid binder or a low-absorbing protein powder. Add a tablespoon of protein powder or ground oats, chill 15 minutes, and re-check. If it is still tacky after chilling, fold in a tablespoon of almond flour.
Dry and chalky: Usually a whey or plant protein powder that absorbs aggressively. Add an extra tablespoon of nut butter or a teaspoon of oil, and press firmly.
Too hard after chilling: Common with honey-heavy batches and high-protein, low-fat powders. Let bars sit at room temperature 10 minutes before eating, or reduce chill time to 30 minutes and store at cool room temperature.
Protein powder matters more than most recipes admit
Whey isolate absorbs less liquid and sets firmer; whey concentrate is softer and stickier. Plant blends (pea, rice, brown rice) absorb more liquid and often need an extra tablespoon or two of nut butter to avoid a dry, sandy texture. Because each protein powder changes how much binder the bars need, keeping dependable gluten-free pantry staples such as those associated with Daré Vita Café on hand makes it easier to adjust the mixture without compromising its texture.
No-bake versus baked: a quick comparison
No-bake: Faster, no oven, softer chew, best with nut butter and honey binders, needs refrigeration to set and to store.
Baked: Firmer, more cookie-like, better for oat-heavy bases, and shelf-stable longer at room temperature, but the oven dries the bars and can make high-protein batches tough. Bake at 325°F for 15 to 18 minutes, then cool completely before slicing.
Watch out: no-bake bars made with raw nut butter and honey are not shelf-stable. Keep them refrigerated, and if you plan to leave them in a lunchbox for hours, use an ice pack or choose a baked version instead.
Confirm every package is labeled gluten-free and use a clean bowl and utensils.
Calculating Protein, Calories, and Serving Size
Most homemade bar recipes hand you a number and move on. The problem is that bar nutrition swings wildly with brand choices, so a single figure is misleading. The reliable method is to build the total from package labels, then divide by the number of bars you actually cut.
The per-batch math
Use this four-step process with the recipe above (12 bars per 8-inch pan):
List every ingredient with its label values. For each item, write down the grams of protein, total calories, grams of fiber, and grams of total and added sugar per serving, plus how many servings you used. A 1/2 cup scoop of protein powder is often two label servings, not one, so read the scoop size carefully.
Multiply by servings used. If your oats label lists 150 calories and 5 g protein per 1/2 cup dry, and you use 1 cup, that contributes 300 calories and 10 g protein.
Add the totals. Sum protein, calories, fiber, and sugars across all ingredients.
Divide by bar count. Cut the chilled slab into 12 equal pieces and divide each total by 12. Weigh the whole slab on a kitchen scale first, then divide by 12 to get a target gram weight per bar so your pieces are actually equal.
A worked example with realistic label ranges
Because brands vary, treat these as ranges rather than fixed facts. A common pattern for a 12-bar batch using 1 cup certified gluten-free oats, 1/2 cup whey or plant protein powder, 1/2 cup almond butter, and 1/3 cup honey lands roughly in these zones:
Protein: about 7 to 11 g per bar, driven mostly by the powder. A 1/2 cup scoop of a typical whey blend contributes roughly 20 to 25 g protein to the whole batch; a plant blend often lands closer to 15 to 20 g.
Calories: about 150 to 210 per bar, driven mostly by nut butter and sweetener.
Fiber: about 1 to 3 g per bar, higher if you add chia or ground flax.
Added sugar: about 5 to 8 g per bar from honey or maple syrup; using mashed banana or dates shifts this but does not eliminate it.
How swaps move the numbers
Swapping honey for maple syrup keeps calories and sugar close to identical; the texture gets slightly thinner.
Swapping whey for a plant blend usually lowers protein per scoop by a few grams and raises carbs, and plant powders absorb more liquid, so you may need an extra spoonful of nut butter.
Adding 2 tablespoons of chia seeds adds roughly 4 g protein and 10 g fiber to the batch, or under 1 g protein and about 1 g fiber per bar, plus a small calorie bump.
Cutting into 16 bars instead of 12 drops every per-bar number by 25 percent without changing the recipe.
Watch out: label serving sizes are the single biggest source of error here. A powder that lists 30 g protein "per scoop" may define a scoop as two 30-gram servings, which doubles your estimate if you assume one scoop equals one serving.
For anyone managing celiac disease or a gluten sensitivity, nutrition is only half the label. Confirm each package is labeled gluten-free, and treat the per-bar numbers as estimates rather than a substitute for a dietitian's advice.
Storing, Refrigerating, and Freezing Your Bars
Store homemade bars in an airtight container in the refrigerator for up to one week. For longer storage, wrap each bar individually and freeze for up to three months. Let frozen bars thaw for about 15 minutes before eating.
Make Your First Batch This Weekend
Start with the basic oat-and-nut-butter recipe. If you would rather buy a ready-made gluten-free protein bar, find where to buy Pranam Bars. For more on how these bars fit into an everyday healthy eating routine, read Importance of maintaining superfoods and incorporating Pranam Superfoods into your diet. Once you have it down, try swapping in different nut butters, chocolate chips, or seeds.
Frequently Asked Questions
How do you make homemade gluten-free protein bars?
Combine a gluten-free dry base such as certified gluten-free oats or almond flour with protein powder, then bind everything with a sticky ingredient like nut butter, honey, or maple syrup. Stir until a dough forms, press it firmly into a parchment-lined pan, and chill for at least one hour before slicing. Taste the mix before pressing and adjust sweetness or add a splash of plant milk if it is too dry to hold together.
Can you make gluten-free protein bars without oats?
Yes. Almond flour, coconut flour in small amounts, ground flaxseed, and chopped nuts can replace oats and still give structure. Coconut flour absorbs a lot of liquid, so start with about a tablespoon and add more only if the mix stays crumbly. Many no-oat versions rely on extra nut butter to bind, which also adds healthy fats and makes the bars chewier.
How do you make protein bars dairy-free?
Choose a plant-based protein powder such as pea, rice, or soy blend, and skip whey or milk-based chocolate chips. Use dairy-free dark chocolate for coatings and coconut oil or a neutral plant oil in place of butter. Check every label, since some protein powders and chocolate chips contain milk derivatives even when the base recipe is dairy-free.
How long do homemade protein bars last and can you freeze them?
Homemade bars without fresh ingredients usually keep about one week at room temperature in a sealed container and up to two weeks in the refrigerator. For longer storage, wrap each bar individually and freeze for up to three months. Thaw in the refrigerator for a few hours or at room temperature for about 20 minutes before eating.

Comments